Screed Moisture Testing Before Flooring Installation: Why It Matters in New Builds
Screed moisture testing explained for new-build developers in Newark and the East Midlands. Why it matters, how it's done, and what happens if you skip it.

Screed Moisture Testing on New-Build Sites: What Developers Across the East Midlands Need to Know
Wet screed laid on a Monday does not become a safe substrate by Friday. That is the single most important thing to understand about screed moisture testing, and it is where a significant number of new-build flooring problems begin.
We carry out screed moisture testing as a standard part of our subfloor preparation process on every site we work on. It is not an optional extra. It is the check that tells us whether the floor is actually ready for the covering that goes on top, and it is the only way we can stand behind the quality of the finished installation.
Why Moisture in a Screed Is Such a Serious Problem
Moisture trapped beneath a floor covering has nowhere to go. It sits there, working on adhesive bonds, causing LVT to lift at the edges, making timber floors cup and buckle, and encouraging mould beneath carpet. By the time the problem is visible, the covering has failed and the remediation cost is significant.
The issue is not unique to careless sites. Calcium sulphate (anhydrite) flowing screeds, which are widely used on new-build developments across Nottinghamshire and Lincolnshire because they self-level and allow faster programme times, are particularly sensitive. They can feel dry on the surface while still holding moisture deeper in the slab. A visual check or a walk-on test tells you nothing reliable. Only a proper moisture test does.
How Do You Check for Moisture in a Concrete or Screed Floor?
There are two main methods, and the right one depends on the screed type and the floor covering being specified.
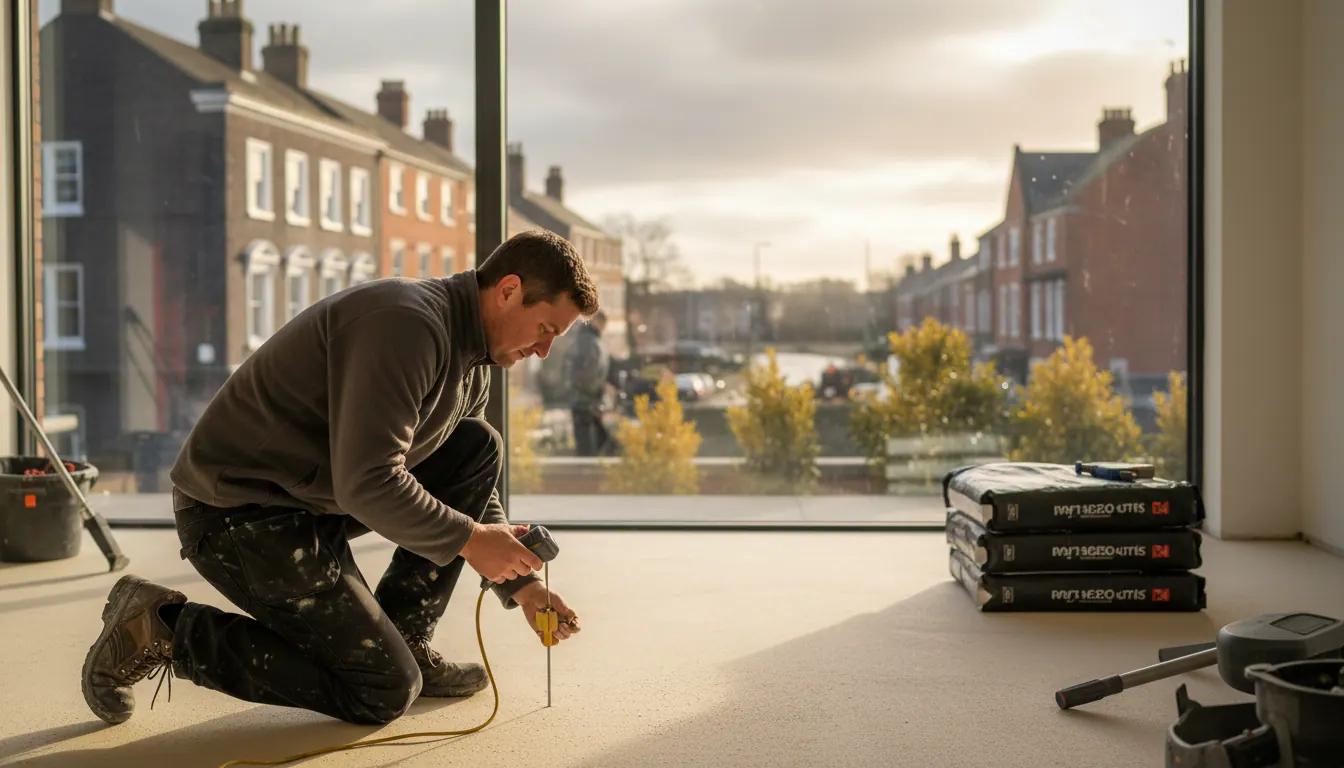
Relative humidity (RH) testing is the most widely accepted method and the one we use. A sleeve or box is sealed to the floor surface, left for a set period so the humidity beneath equilibrates, then read with a calibrated hygrometer. For most floor coverings, the screed needs to read below 75% RH before installation can proceed. Some manufacturers specify lower thresholds, and we always check the covering manufacturer's requirements before signing off a floor as ready.
Surface resistance / electronic moisture meters (sometimes called a Tramex moisture meter after one common brand) give a faster, non-invasive reading by passing an electrical signal through the floor surface. They are useful for a quick site scan to identify areas of concern, but they read surface conditions rather than the full depth of the screed. We use them as a first pass. If they flag anything, we follow up with RH testing. We would never rely on a surface meter alone to clear a floor for installation.
A few things to bear in mind on site:
- Anhydrite screeds must be sealed before adhesive is applied even when they pass the RH test, because calcium sulphate is chemically incompatible with some adhesives and will cause bond failure
- Readings vary across a single slab, so we test in multiple locations, particularly near external walls and ground-floor perimeters where drying is slower
- Heating the building to accelerate drying can help, but forcing it too fast can cause surface cracking in calcium sulphate screeds
- DPM (damp proof membrane) application can allow flooring to proceed on a floor that has not fully dried, but this is a decision made with full knowledge of the moisture reading, not a shortcut to avoid testing
For more on how we approach DPM and surface preparation as part of the wider subfloor process, see our article on subfloor preparation for flooring in Newark: why DPM, levelling and screeding matter.
How Long Does Wet Screed Take to Dry?
The standard rule of thumb for sand and cement screed is one day per millimetre up to 50mm, then longer for anything deeper. A 75mm screed could take ten to twelve weeks to reach installation-ready moisture levels under normal conditions. Anhydrite flowing screeds dry faster, but they still require testing. Manufacturer guidance typically suggests a minimum of four weeks for a 40mm anhydrite screed before testing, and conditions on site (temperature, ventilation, whether the building is watertight) make a significant difference.
In the East Midlands, where autumn and winter bring sustained damp and low temperatures, drying times on ground-floor slabs can stretch considerably beyond the theoretical minimum. We have tested floors in Nottinghamshire developments in January that were still reading well above threshold despite being laid in September. That is not unusual. It is a reason to build testing into the programme rather than assuming the screed is ready because enough weeks have passed.
What Happens on Site if the Screed Fails the Moisture Test?
The floor does not get covered. That is the short answer, and it is the right one.
We understand that programme pressure on new-build sites is real. Completions drive cashflow, buyers have move-in dates, and a flooring delay can hold up other trades. We work closely with site managers and project coordinators across Nottinghamshire, Lincolnshire and Leicestershire to flag moisture readings as early as possible so that decisions about remediation, DPM application or programme adjustment can be made with accurate information rather than guesswork.
The options when a floor fails the test include:
- Continued drying with improved ventilation and heat, followed by re-testing
- Application of a surface-applied DPM to allow flooring to proceed, where the covering specification permits it
- Latex screeding over the DPM to achieve a smooth, level surface ready for the final covering
What is not an option is laying the floor anyway and hoping it holds. We will not do it, and any developer who has dealt with a flooring failure on a completed plot will understand exactly why.
What Joe's Experience Shows About Getting Difficult Floors Right
Subfloor problems are not always visible at the start of a job. Sometimes they only reveal themselves once the work is underway. Joe, one of our customers, put it this way:
"Nathan and team provided an exceptional service and a high quality flooring finish. Despite the difficulties with the under flooring they were professional, knowledgeable and dedicated to ensuring they completed the job."
That commitment to seeing a job through properly, even when the substrate presents problems, is exactly the approach we bring to every site. Whether it is a moisture reading that delays a plot or a subfloor that needs more preparation than initially expected, the floor gets done right.
Screed Moisture Testing as Part of a Broader Subfloor Package
On new-build developments, screed moisture testing does not sit in isolation. It is one step in a process that typically includes:
- Initial site visit and assessment
- Moisture testing across multiple locations per plot
- DPM installation where required
- Latex screeding for surface levelling and smoothing
- Final check before floor covering installation
We handle all of this in-house. We do not subcontract the preparation and then arrive to fit the floor. That matters because the person laying the LVT or carpet is the same team that assessed and prepared the substrate. If something does not look right, it gets addressed before the covering goes down, not discovered afterwards during snagging.
For developers specifying flooring across multiple plots, consistent subfloor preparation across every unit is as important as consistent finish. Variation in how floors are prepared leads to variation in how they perform, which creates snagging, callbacks and unhappy buyers. Our article on latex screeding and floor levelling for new-build developments covers how we approach consistency at scale.
Frequently Asked Questions
How long should I wait before testing screed for moisture? For sand and cement screed, the general guide is one day per millimetre of depth, but this is a minimum under good drying conditions. Anhydrite screeds typically need at least four weeks before testing begins. On East Midlands sites in colder months, allow more time. Always test rather than assume, because conditions vary significantly between plots and across a single slab.
What moisture level does screed need to reach before flooring can be fitted? For most floor coverings, the screed needs to read below 75% relative humidity. Some products, particularly certain adhesive-fixed LVT and timber floors, require lower thresholds. We always check the specific requirements of the covering being installed before signing off a floor as ready.
Can you lay flooring on a screed that has not fully dried? In some cases, yes, by applying a surface-applied damp proof membrane first. This is a legitimate solution when programme demands it and the moisture reading is understood. It is not a substitute for testing. You need to know the actual reading before deciding whether a DPM is appropriate.
Do you test anhydrite and calcium sulphate screeds differently? The RH testing method is the same, but anhydrite screeds require additional steps regardless of the moisture reading. They must be mechanically abraded or laitance-removed, and a primer or sealer applied before adhesive, because calcium sulphate reacts with cement-based products. Skipping this step causes adhesive failure even on a floor that passed the moisture test.
Ready to Talk About Your Development?
If you are a developer, site manager or contractor with a new-build project coming up across Nottinghamshire, Lincolnshire or Leicestershire, we are happy to discuss your programme, visit site and advise on what the subfloor preparation and testing schedule should look like.
Get in touch with us to arrange a site visit or talk through your specification. We work Monday to Friday, 9am to 5pm, and you can also reach us by phone on 07969 675553, by email at Info@pro-flooring.co.uk, or via WhatsApp.